भारत में हर साल करोड़ों नहीं, बल्कि लाखों करोड़ रुपये के सरकारी प्रोजेक्ट्स निकाले जाते हैं। लेकिन दुख की बात यह है कि 90% छोटे vendors इनका फायदा नहीं उठा पाते, सिर्फ इसलिए क्योंकि उन्हें पता ही नहीं होता कि Vendor Registration कैसे होता है या Tender Apply कैसे किया जाता है।
अगर आप भी चाहते हैं कि आपकी छोटी या बड़ी company—या फिर आपका individual business—भी Government Supplier बने, तो यह पूरा ब्लॉग पोस्ट आपका roadmap है।
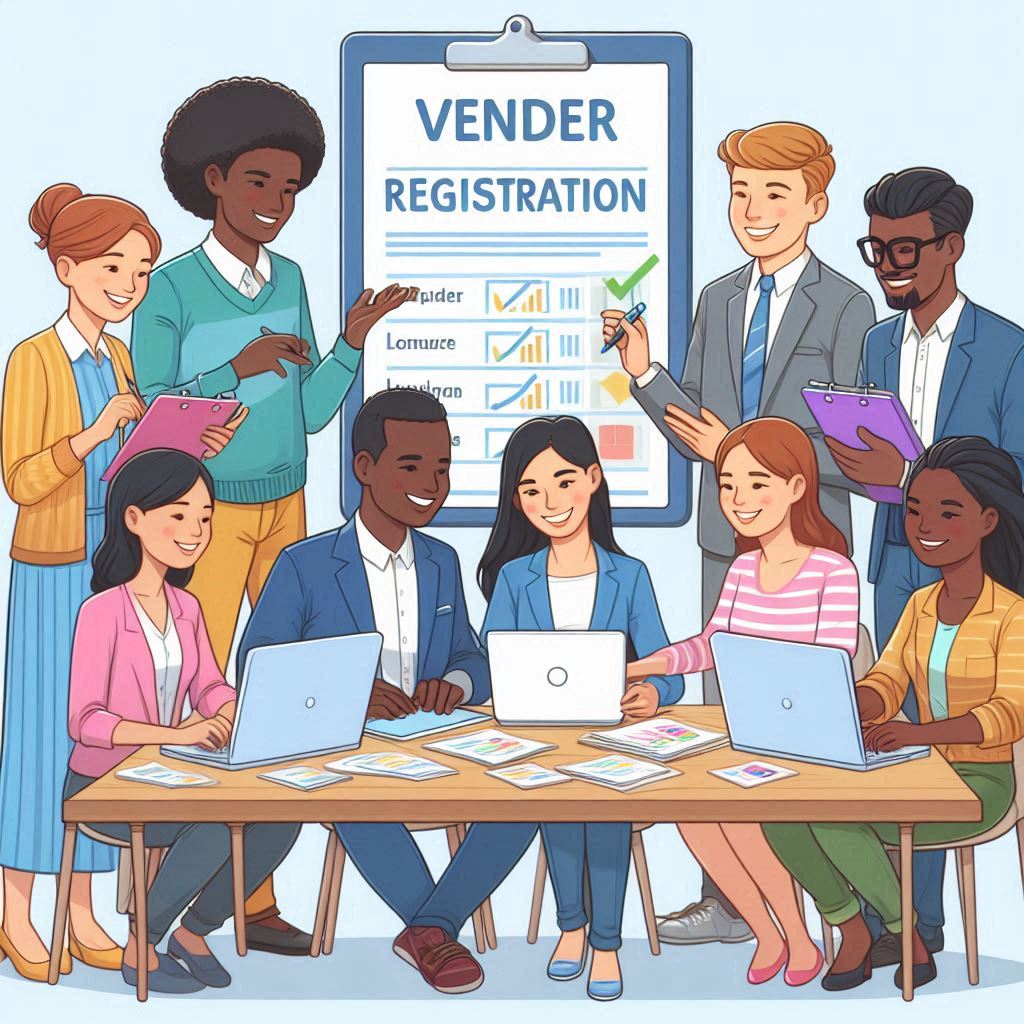
Vendor Registration क्या होता है? (सबसे Simple Explanation)
सरकारी टेंडर सिस्टम में काम पाने के लिए आपको अपनी identity verify करवानी होती है, यानी government को बताना होता है:
✔ आपकी company genuine है
✔ आपके पास legal registration है
✔ आप supply / service देने के capable हो
यही process कहलाता है Vendor Registration।
इसे आप एक तरह का “Government Admission Process” समझ सकते हो—जहां आप अपनी details + documents submit करते हो, और approval मिलने के बाद आप tenders में participate कर सकते हो।
Vendor Registration के लिए जरूरी Documents
Vendor Registration में documents सबसे बड़ा रोल निभाते हैं। गलत document डालने से आपका registration reject भी हो सकता है।
नीचे मैंने सभी जरूरी documents perfect list में डाल दिए हैं:
✅ 1. Company Information (Business Proof)
आपके पास इनमें से कोई एक होना चाहिए:
- Shop Act License (Gumasta)
- MSME / Udyam Registration
- Proprietorship Certificate
- Partnership / Pvt Ltd Company Registration
- ट्रेडिंग या Individual work के लिए Shop Establishment Proof
➡ Government सिर्फ ये देखती है कि आपका business registered और legit है।
✅ 2. PAN Card (Match होना जरूरी)
- Individual PAN → अगर आप अपने नाम से tender भर रहे हो
- Company PAN → अगर company के नाम से tender भरना है
➡ ध्यान: PAN name और Registration name same होना चाहिए।
✅ 3. GST Registration (Mandatory)
Government tenders में GST most important है।
✔ GST certificate में legal name match होना चाहिए
✔ Address भी same होना चाहिए
✅ 4. Current Bank Account (Business Account)
Tender money, payment, refund—सब कुछ इसी account में आता है।
भले नया account हो, कोई issue नहीं।
बस current account होना चाहिए।
✅ 5. Email ID (Super Important)
Tender notifications
User ID – Password
Document verification
Password reset
सब कुछ email पर आता है।
✔ Company email best है
✔ नहीं है तो dedicated Gmail भी चलेगा
✅ 6. DSC (Digital Signature Certificate) – Tender का असली हथियार
Digital Signature Certificate (Class-3) के बिना आप tender submit नहीं कर सकते।
📌 Price: ₹1,500–₹2,500
📌 Type: Class-3 (Mandatory for tender)
📌 Name: Owner / Company दोनों में बना सकते हैं
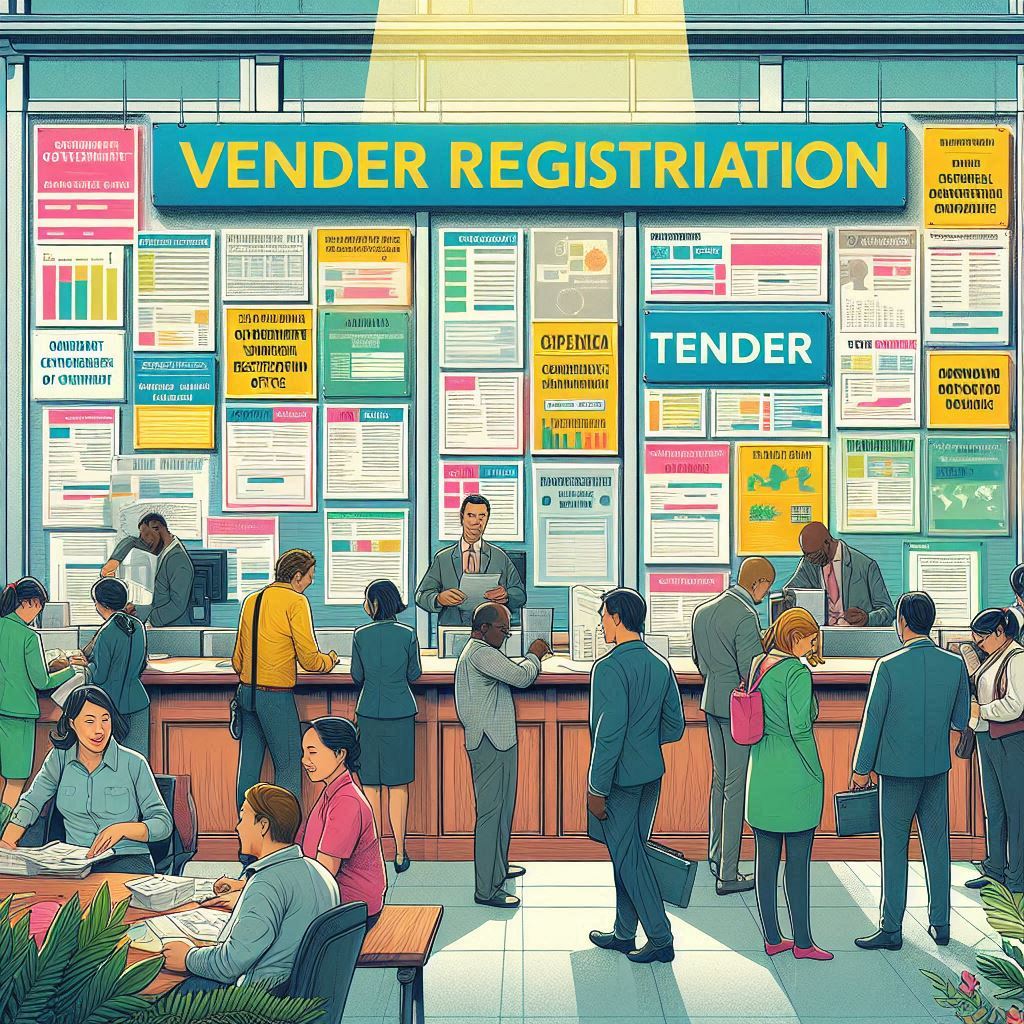
🟩 Vendor Registration कहां करें? (Top Trusted Platforms – 2025)
आपका वीडियो यहां बहुत value देता है। मैंने इसे professional तरीके से format किया है:
⭐ 1. IOCL eProcurement Portal
Government Oil Sector के सबसे ज्यादा tenders IOCL पर आते हैं।
Categories बहुत हैं—Electrical, Hardware, Printing, Services etc.
⭐ 2. GeM – Government eMarketplace
Government buyers directly आपसे purchase करते हैं।
Perks:
✔ Zero commission
✔ लाखों buyers
✔ MSME को priority
✔ बिना experience भी sales possible
⭐ 3. Central Public Procurement Portal (CPPP)
267+ government departments यहां registered हैं।
India का सबसे बड़ा tender portal है।
🟩 Tender कैसे Search करें?
Vendor Registration के बाद अगला step है—tender ढूंढना।
आप keywords से search कर सकते हो:
- Electrical Items
- Safety Items
- Printing Work
- Hardware Supply
- Office Stationery
- Fabrication
- IT Services
Daily 100+ tenders हर एक category में निकलते हैं।
🟩 Tender Apply कैसे करें?
Simple Steps:
✔ 1. Login
आपके email पर आए User ID + Password से।
✔ 2. Tender Documents Download
Tender की पूरा requirement पढ़ें।
✔ 3. BOQ Fill करें
Excel-format pricing sheet।
✔ 4. Technical Bid Upload करें
Documents जैसे:
- GST
- PAN
- Company Proof
- MSME
- Experience (यदि है)
✔ 5. DSC से Submit करें
Without DSC → tender submit नहीं होगा।
🟩 क्या बिना Experience के tender मिल सकता है? (Yes!)
बहुत लोग इस misconception में होते हैं कि experience ज़रूरी है—लेकिन यह गलत है।
✔ कई tenders में experience required ही नहीं होता
✔ MSME businesses को priority मिलती है
✔ Lowest Bid (L1) को tender मिल जाता है
Start small → build experience → get big tenders!
🟩 New Vendors की सबसे बड़ी Mistakes (Avoid करें)
❌ गलत documents upload करना
❌ PAN-GST mismatch
❌ Deadline के आखिरी दिन tender भरना
❌ BOQ में error
❌ DSC expiry
❌ Profile incomplete छोड़ देना
इन mistakes से बचकर आप आसानी से tender जीत सकते हो।
🟩 Conclusion: Vendor Registration = Government Business की चाबी
Government tenders आपके business को next level तक ले जा सकते हैं—बस आपको सही process समझना है।
Documents ready करें → Portal पर register करें → DSC बनवाएं → Tender search करें → Apply करें।
आप भी government supplier बन सकते हो—बस शुरुआत करने की जरूरत है!
🟦 🔥 FAQs: Government Tender & Vendor Registration (2025)
(Google SEO के लिए बहुत powerful)
Q1. Vendor Registration कितने दिन में हो जाता है?
आमतौर पर 2–7 working days में approval मिल जाता है।
Q2. क्या बिना company बनाए tender भरा जा सकता है?
हाँ, आप individual proprietor बनकर भी tender apply कर सकते हैं—बस Shop Act या Udyam चाहिए।
Q3. DSC Class-2 चलेगा क्या?
नहीं। Government tender के लिए DSC Class-3 mandatory है।
Q4. क्या GST नंबर जरूरी है?
जी हाँ—Government tenders में GST important requirement है।
Q5. क्या बिना experience के tender मिल सकता है?
हाँ, कई tenders में experience जरूरी नहीं होता।
Q6. क्या tender भरने के लिए office होना जरूरी है?
नहीं, सिर्फ business proof (Shop Act / Udyam) पर्याप्त है।
Q7. Tender rejection के common reasons क्या हैं?
- Wrong documents
- Signature mismatch
- BOQ errors
- Unread tender conditions
Q8. क्या टेंडर apply करने के लिए agent जरूरी है?
नहीं! आप खुद भी apply कर सकते हो—process online है।
Q9. Tender की payment कैसे मिलती है?
Payment आपके business current account में आती है।
Q10. क्या MSME certificate से फायदा मिलता है?
हाँ, MSMS businesses को priority और कई जगह EMD छूट मिलती है।
Other Useful Link – Click Here